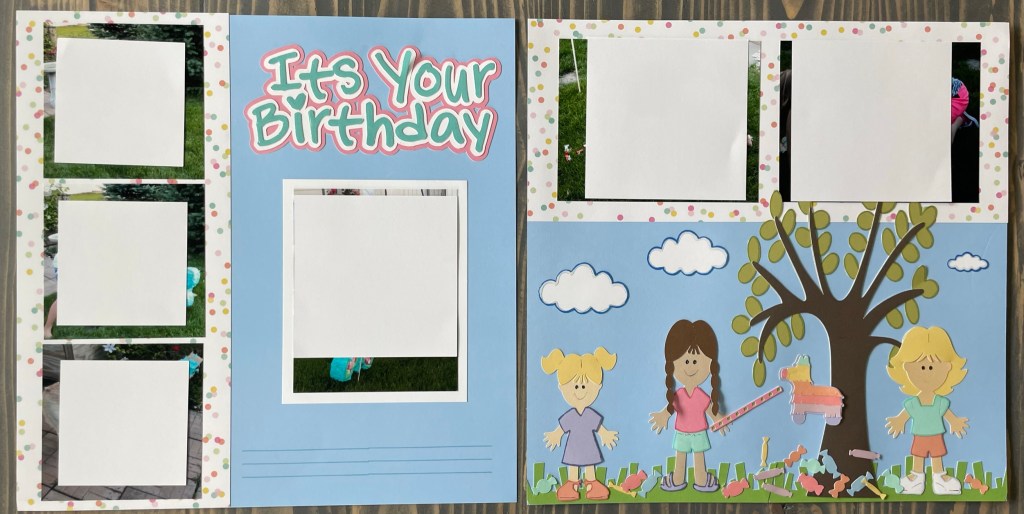
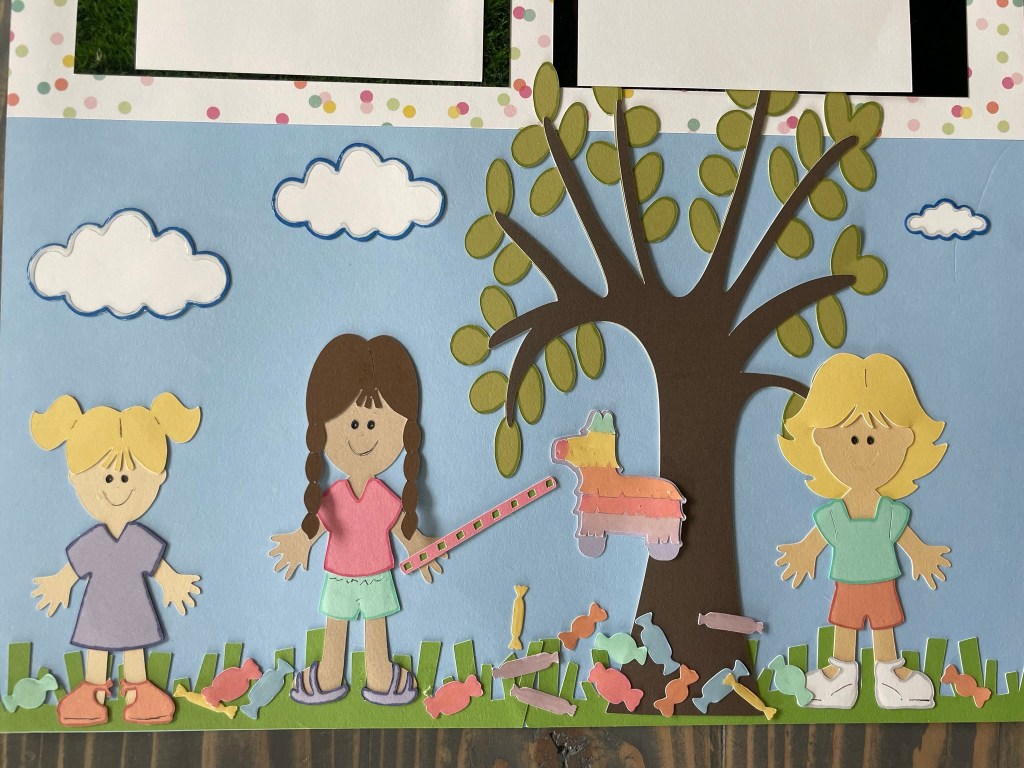
Paper piecing is fun. All the elements for this layout were found and cut out on the Cricut.
Sometimes a layout just needs more. I made a scene to represent the bigger picture. I used makers to outline the pieces in a darker shade. I used liquid glass on something, the whole piñata and candy and only the outline of the clouds. After I was done I realized I should have added a few marks on the candy wrappers.
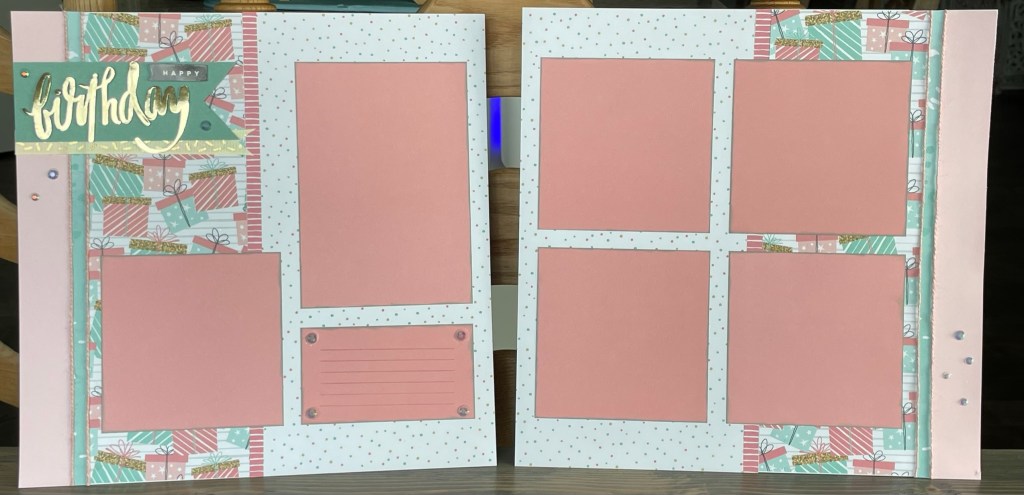
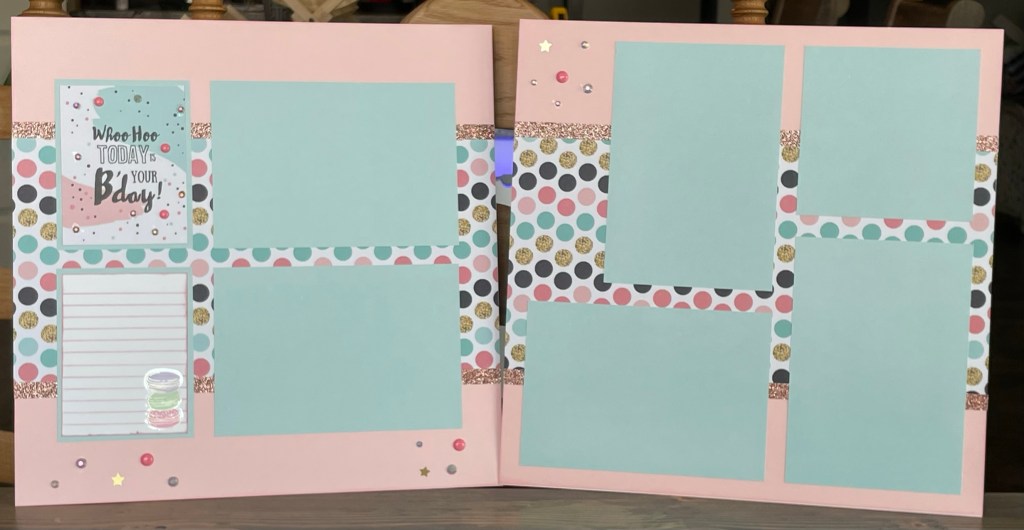
Make a Wish paper pack
I loved the colors in this paper pack. I had two birthdays in particular that I knew it would be perfect for this paper when I found it during a local flash sale recently. The Print was a little busy for me, to fix that, I added more solid color cardstock.
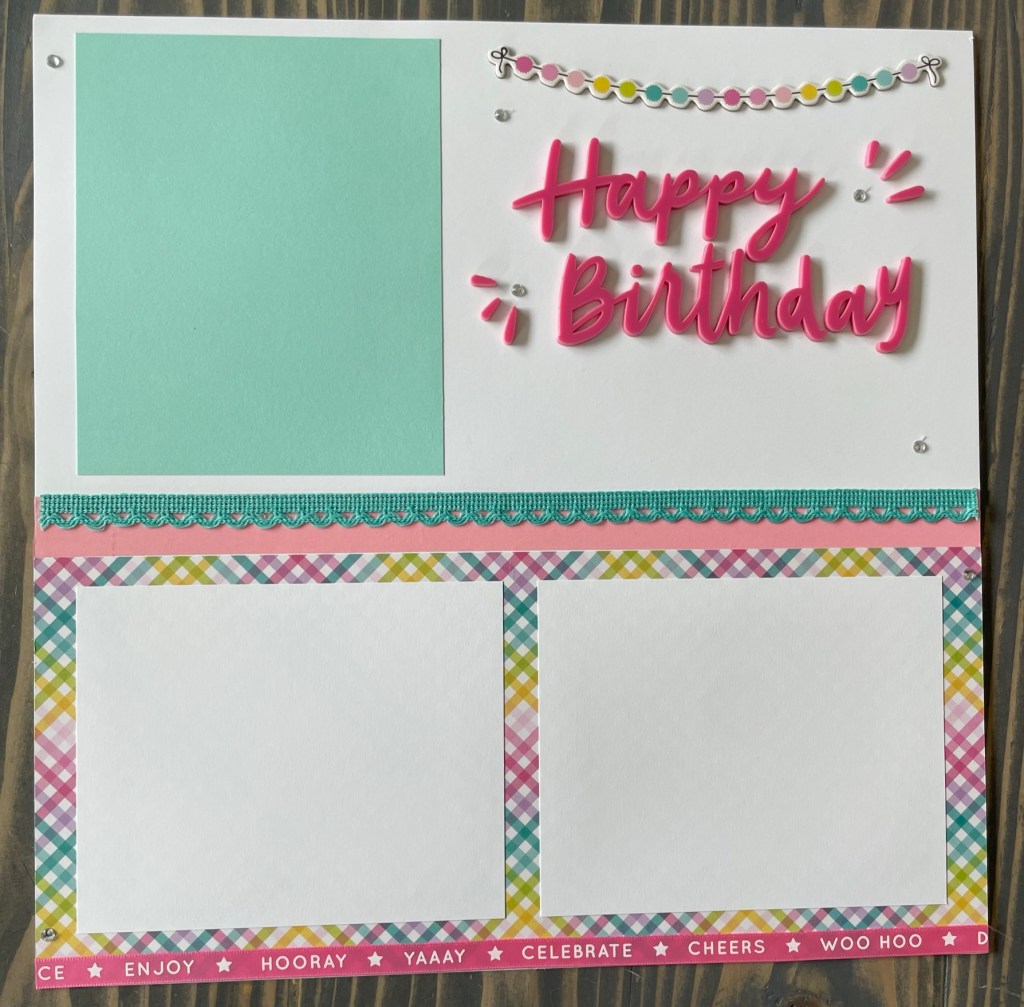
On the first layout, I added a turquoise colored ink to the papaya cardstock and it made the photo mats pop! I had the perfect pink twine to add vertically with the paper strips. Using foam I elevated the juniper paper ribbon, the Happy birthday was a foam sticker pack I had. Then of course the sparkles to enhance!
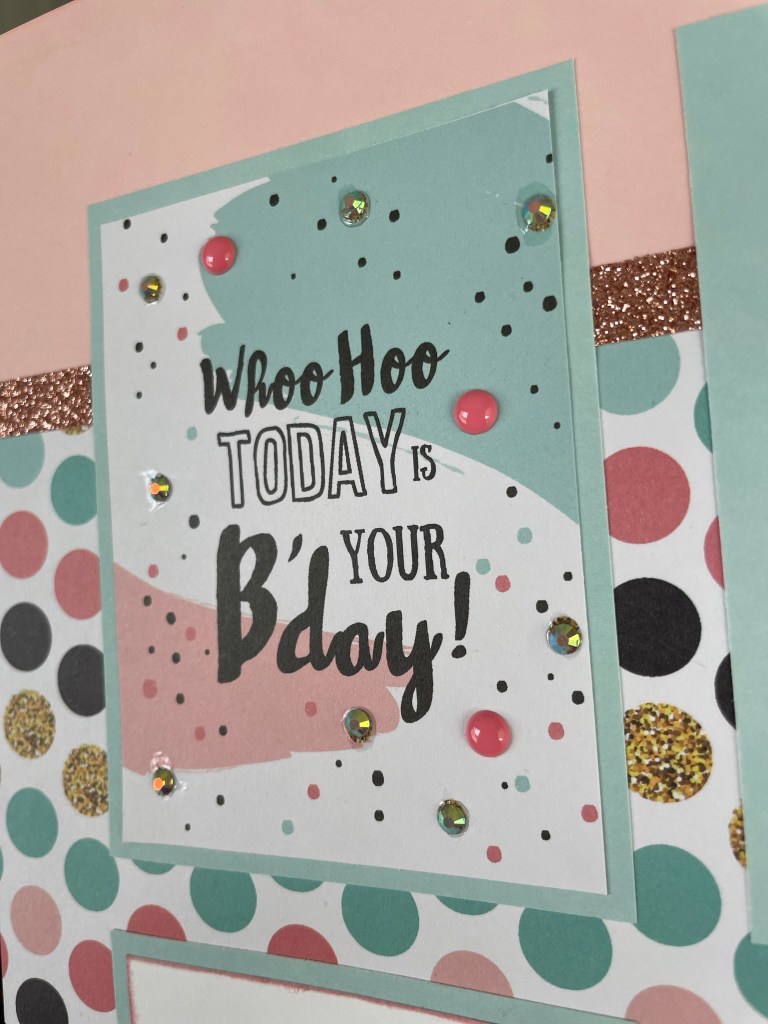
The second layout was fun to turn down the volume on those dots! I didn’t have the correct tone of gold on hand, but I did have Rose Gold Shimmer Trim and that blended well. Worked good a transition between the solid and patterned paper. The pocket card has just the right amount of black in it. Again the sparkles finished it off.
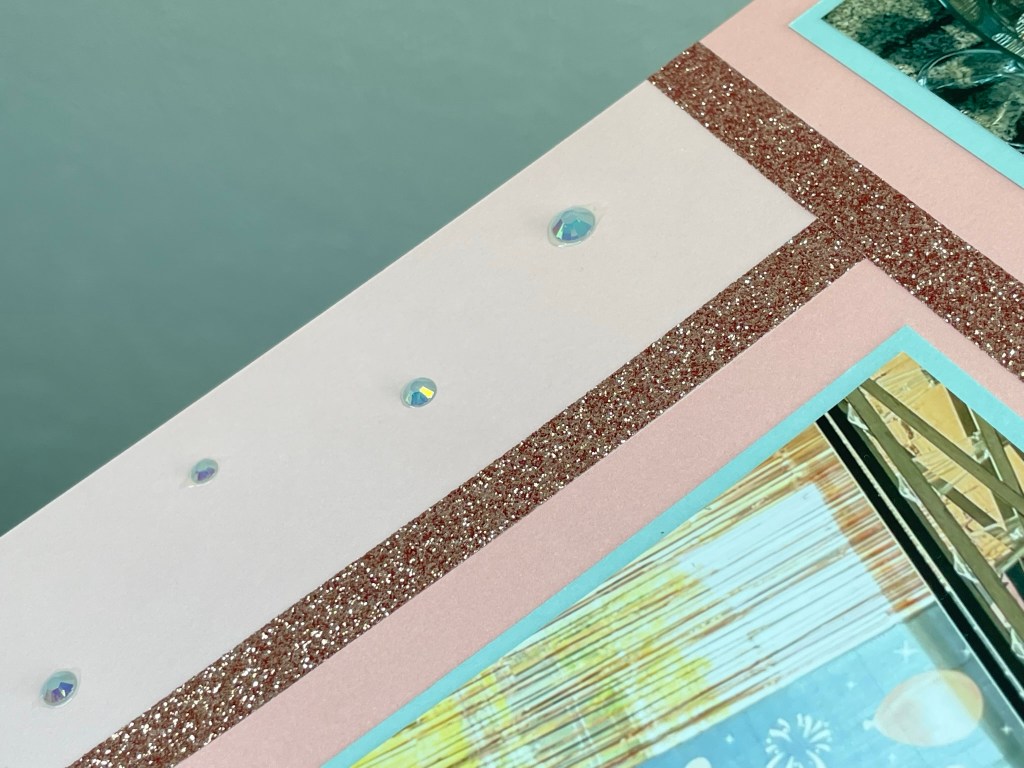
The third layout was a companion layout. I felt the pattern colors didn’t work with the photos of the cake and cookies. So, I continued the same solid colors as well as the rose gold shimmer trim. This became for a grid.
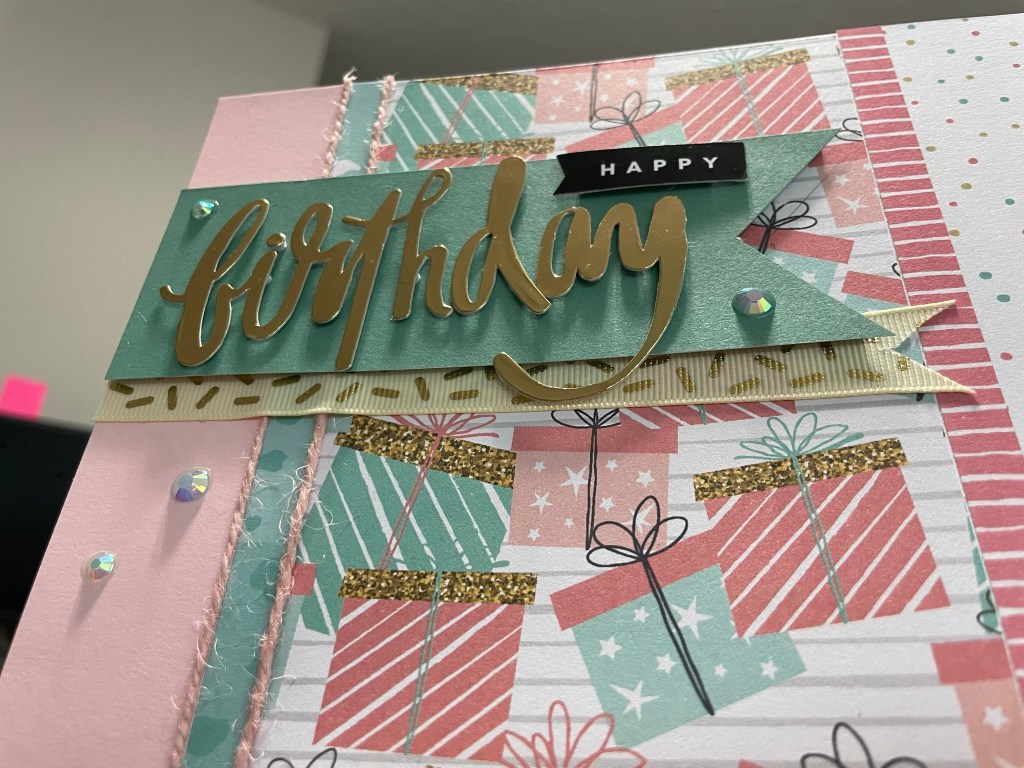
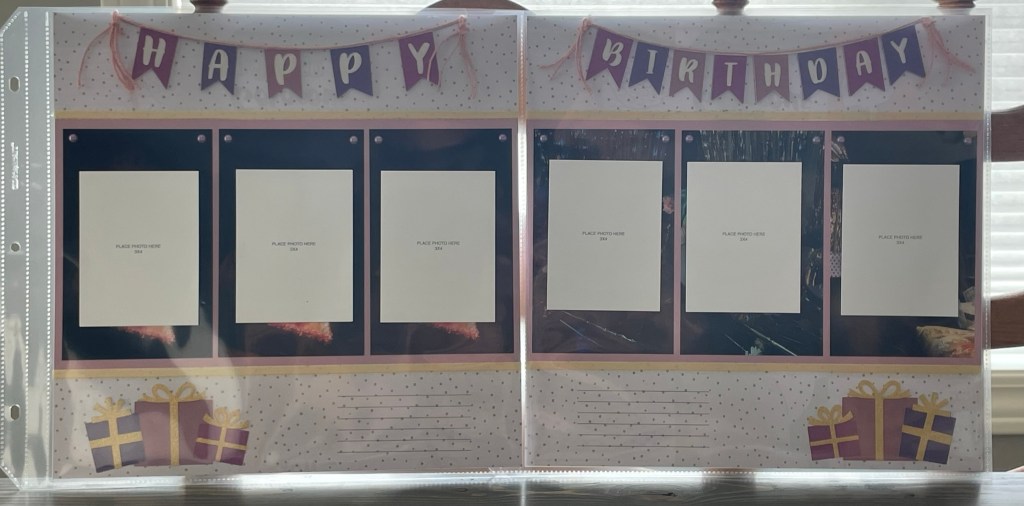
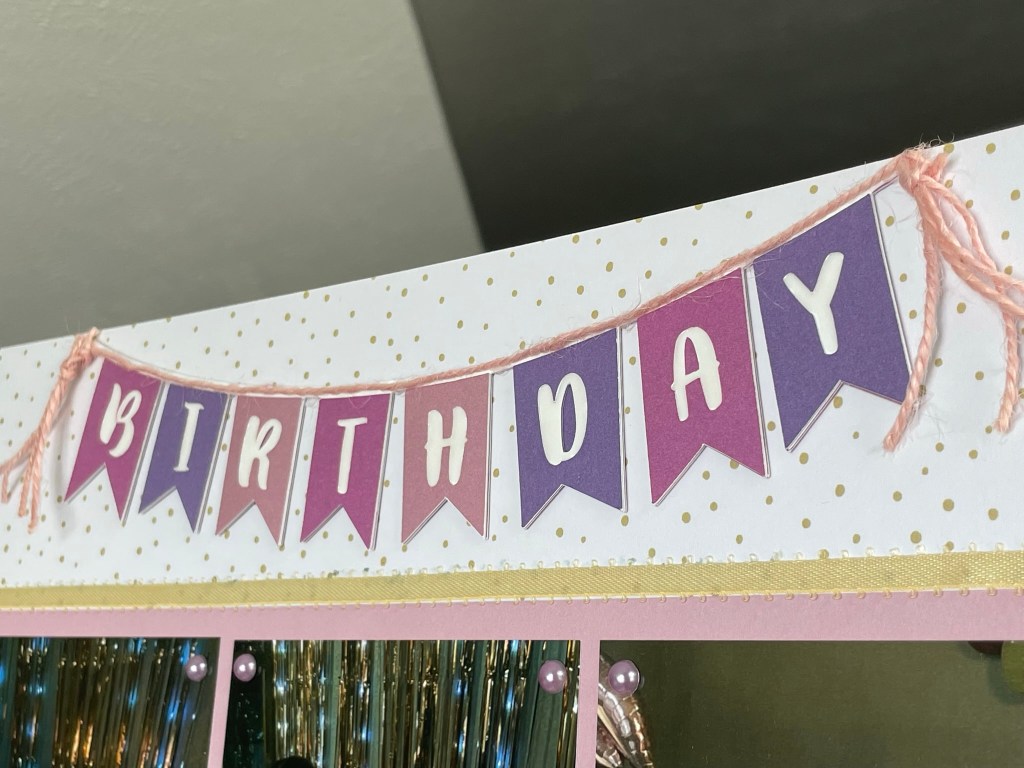
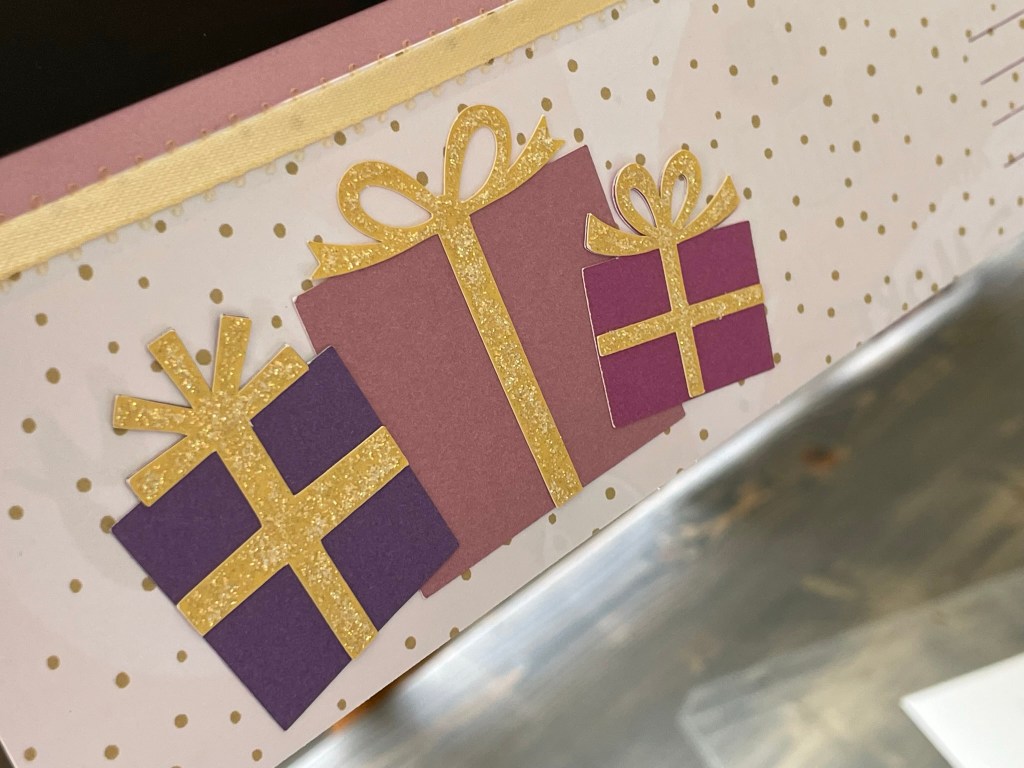
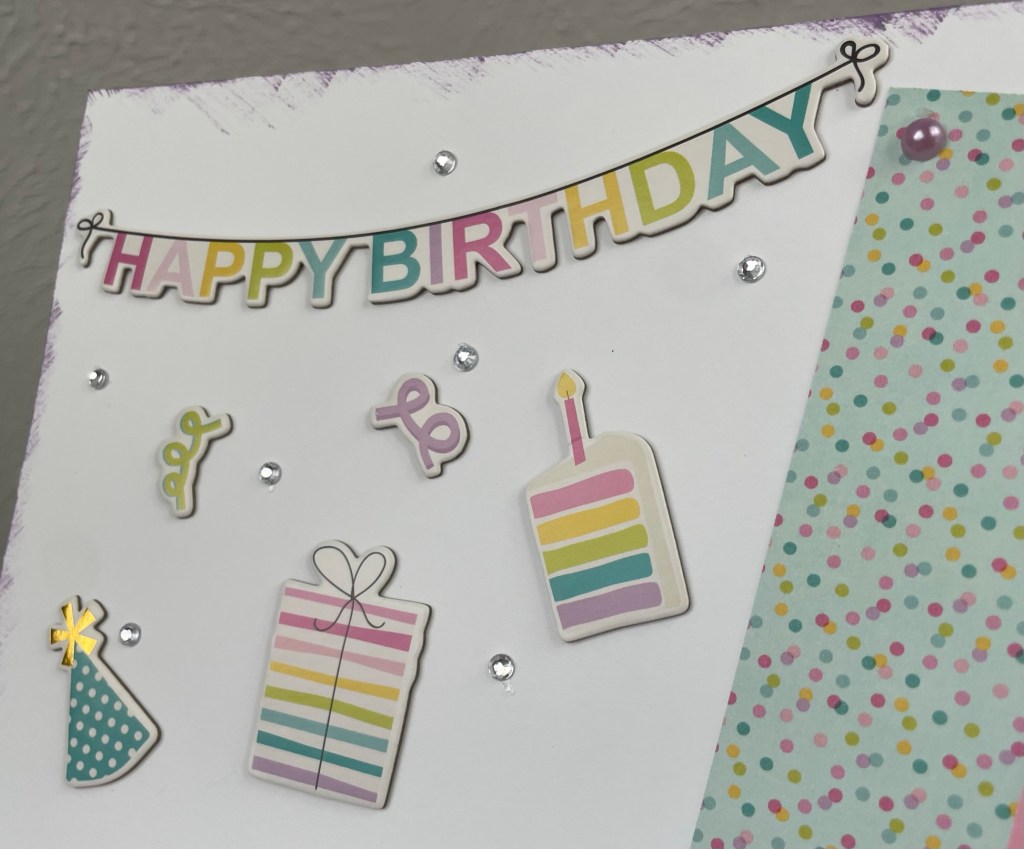
Birthday Banner
Fun gold dot patterned paper with color splash. Birthday banner and presents were cut using the Cricut. I used the pink twine to hang the banners and created a tassel for each end. Then I added stickles to the ribbons on the presents.
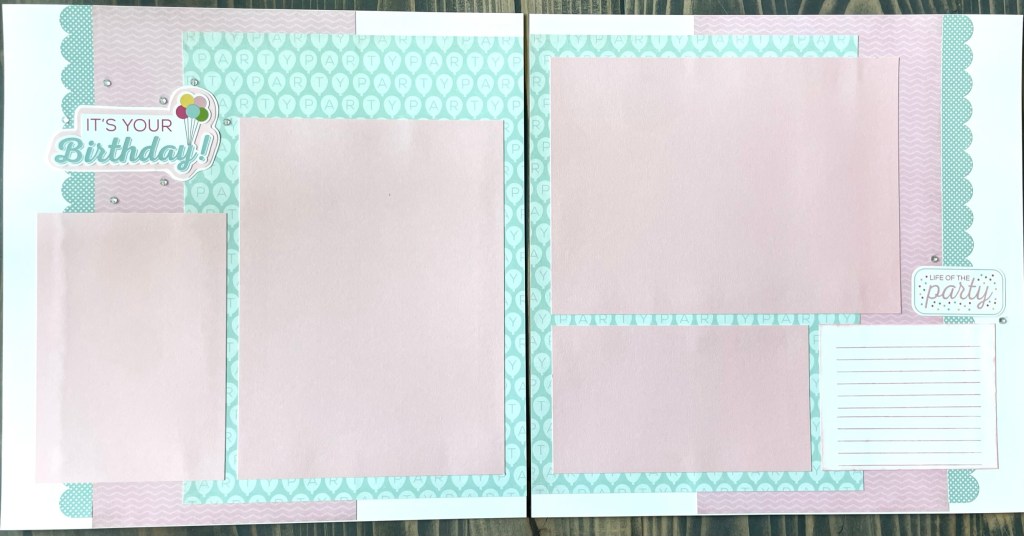
Birthday Wishes paper pack
This paper pack was fun, it had both bold and calm colors and patterns. I was able to make to totally opposites with the same paper.
The calm patterns helped with the busy pictures. I used the element stickers from the paper pack to create a title and embellishments.
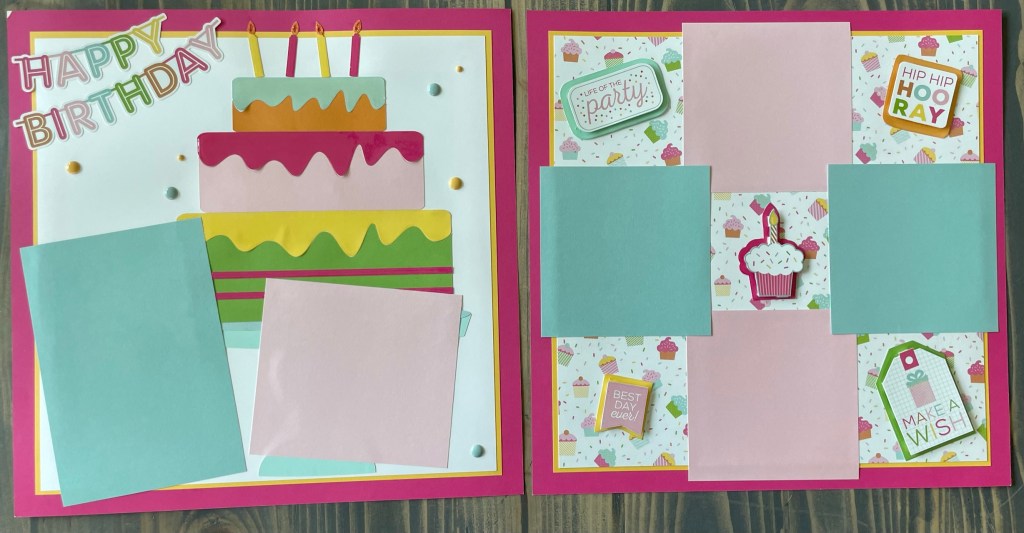
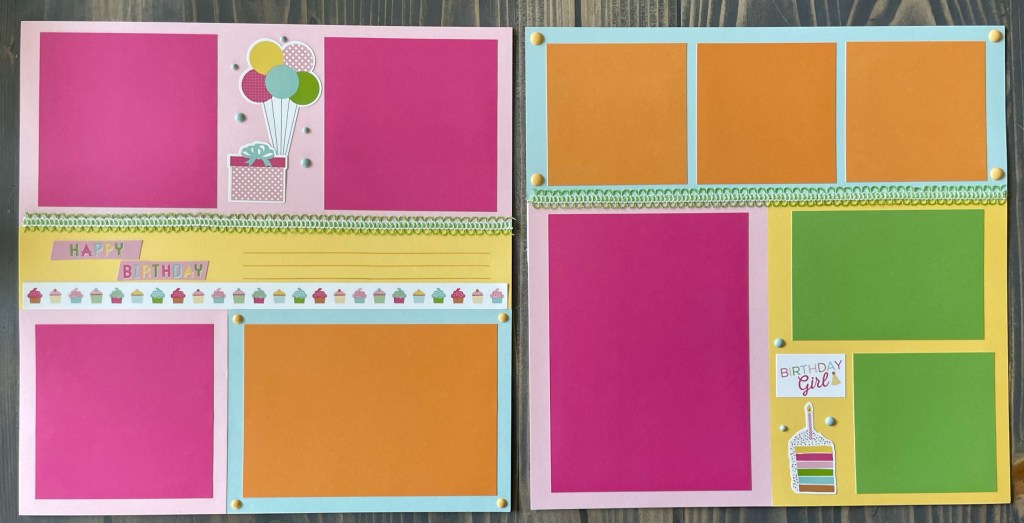
I used bolder colors with the cupcake pattern for this layout. I used a mix of elements. Enamel bots to accent. The tags on the right side are stickers that I put on white cardstock. Then popped them up with foam and colored backgrounds to stand out. My favorite was the cake! Its an image on Cricut with several layers. For the frosting on each of the layers I added liquid glass then on the candles I add orange stickles.
I had a lot of pictures for this layout. I chose all solid colors so I didn’t make it too busy. Then I brought it more of the element stickers from the paper pack. Cute cup cake boarder with other birthday elements. Again I used the enamel dots to accent.
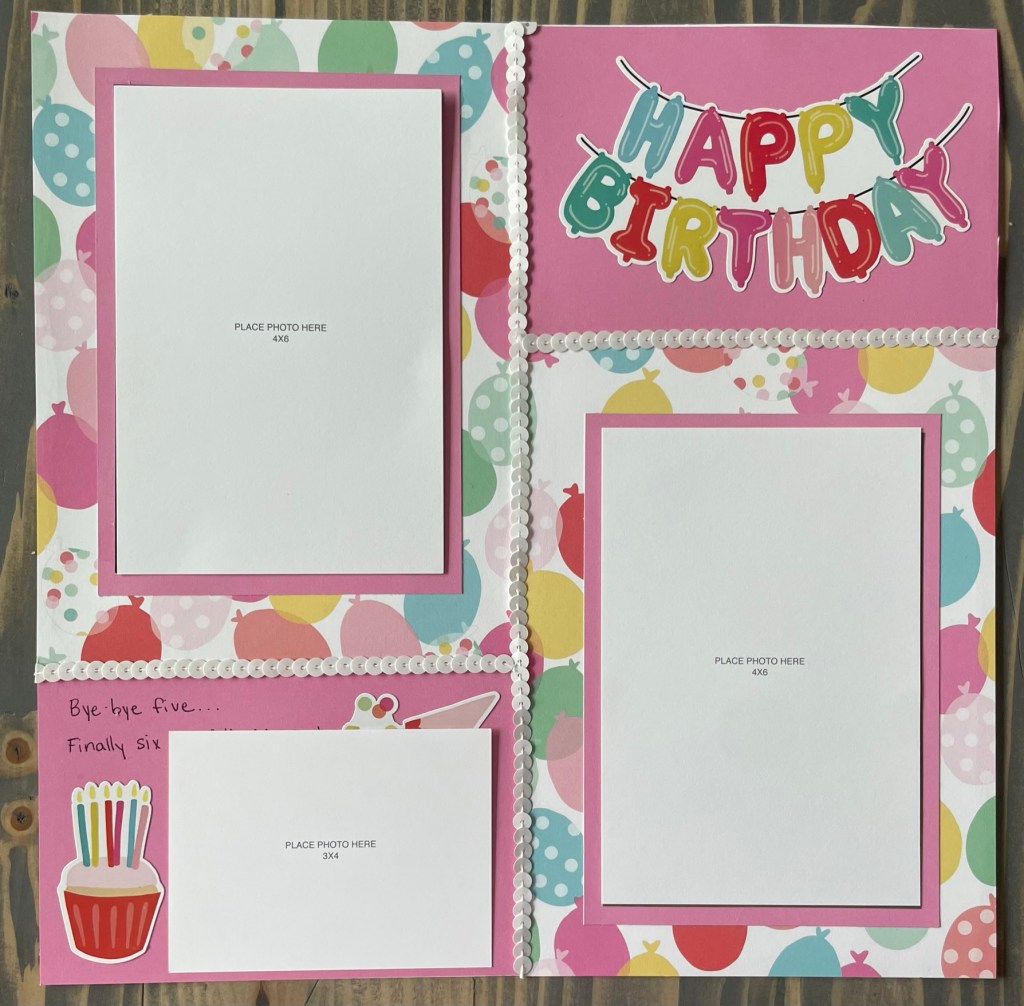
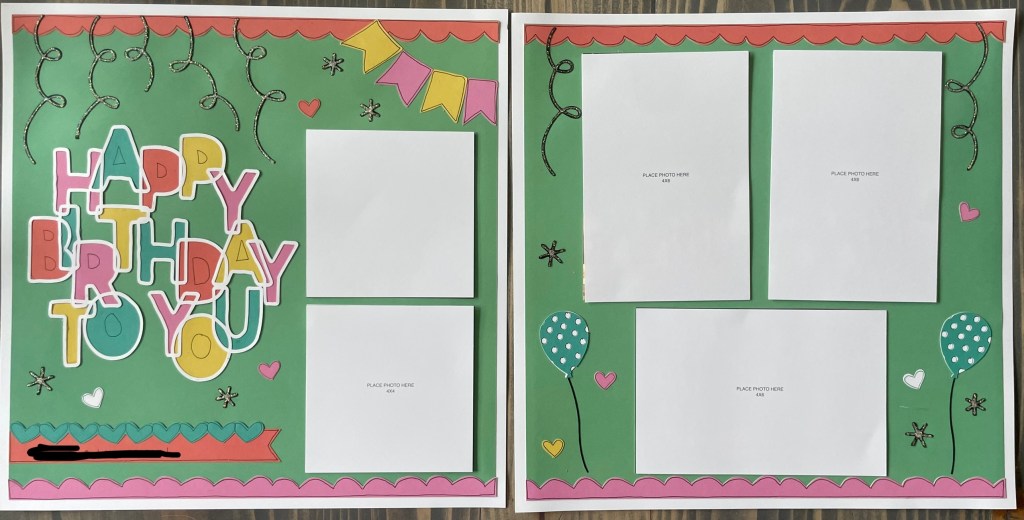
Magical Birthday paper pack
This paper has a little girl feel to it. Lots of unicorns! I waited to use most of it so I could you it with other layouts.
I tried the method of simply laying down paper and going with it. This is definitely not my style but it was fun and I think the pages turned out cute! I might just try it again soon. I used the chipboard elements from the paper pack. These are compliment layouts as she had two separate parties.
I had the cutest acrylic Happy Birthday piece. The ribbons with a great compliment to the pattern paper. I used the space under the title as a journaling spot.
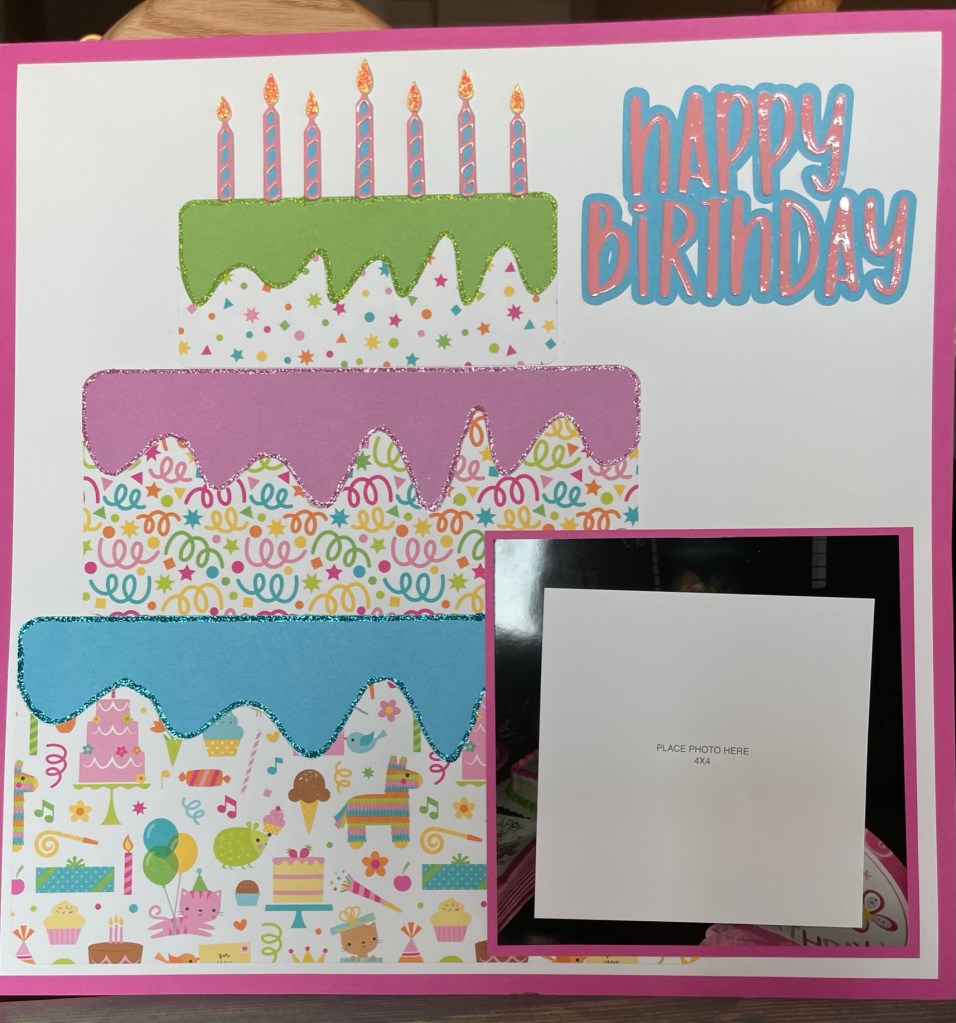
Hey Cupcake paper pack
Lots of cute bold colors and patterns. I didn’t have any additional elements with this pack. I made everything with Cricut.
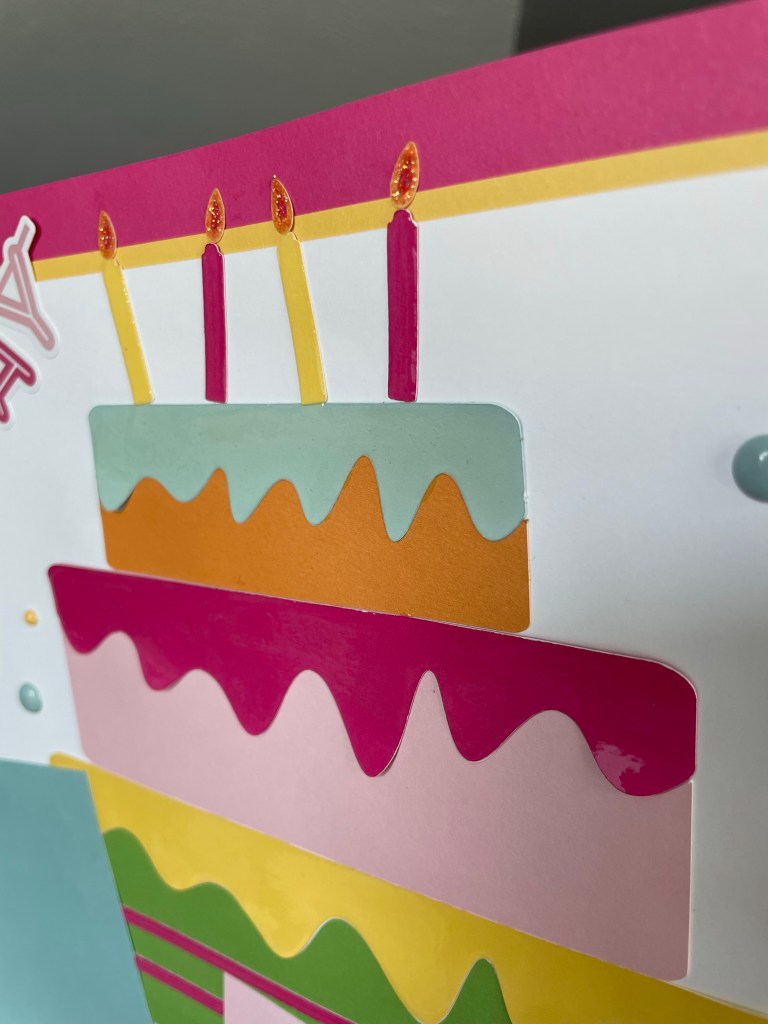
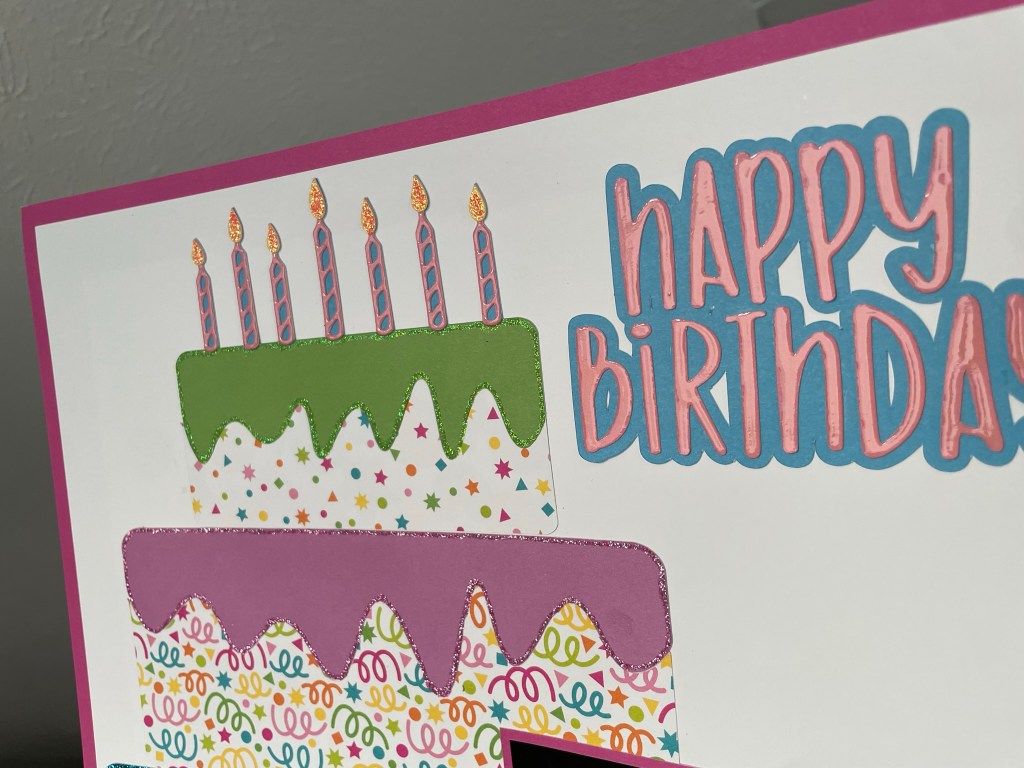
This particular layout was created by someone else on a facebook group I am in. Just looking at it, I felt like a child at a birthday party. I made some modifications to better fit my layout. Stickles for the win on this one, it was applied to mostly everything. The title I added a white outline to make it more dimensional.
I used the pattern paper for my cake layers. Heaviest pattern on the larger piece working my way up to the top layer. Solid colors for the frosting. I used blue, purple and green stickles to outline the frosting pieces. For the candles I used liquid glass to give them a waxy look. I also added it to the title.
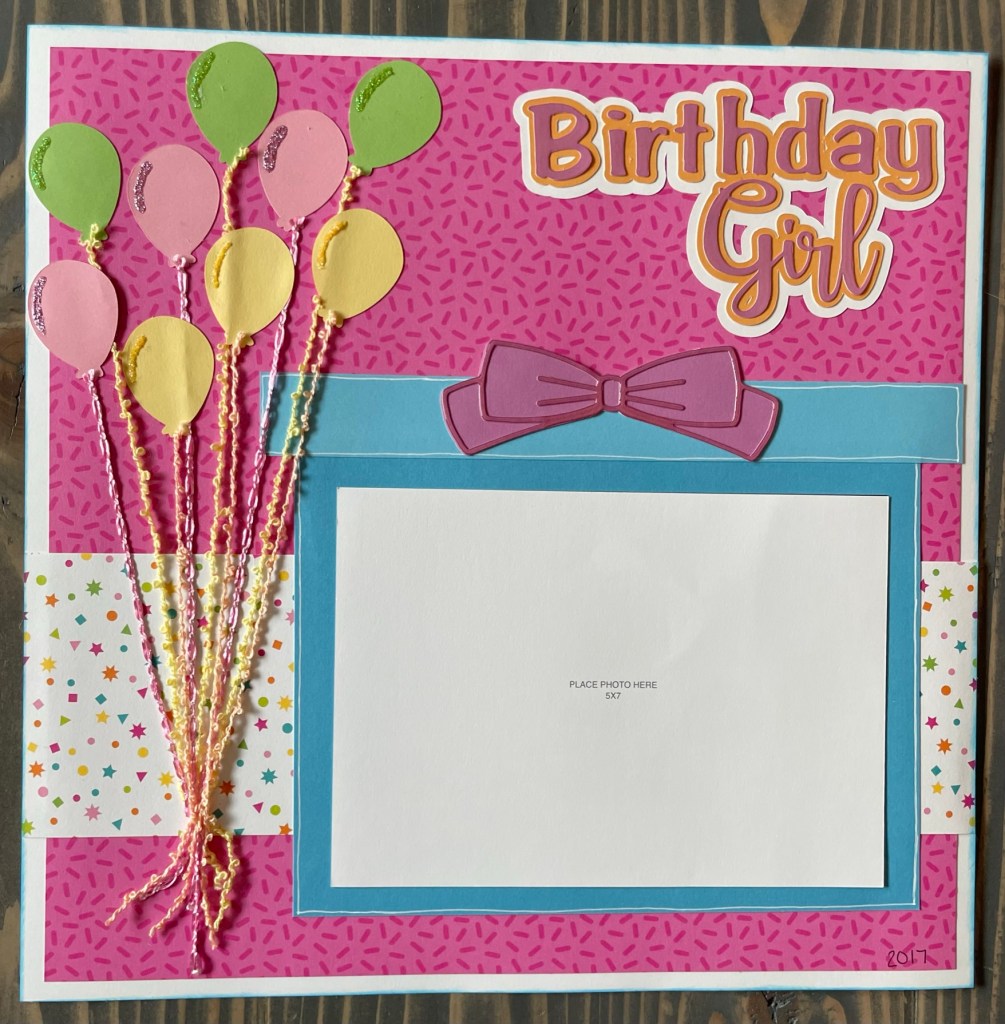
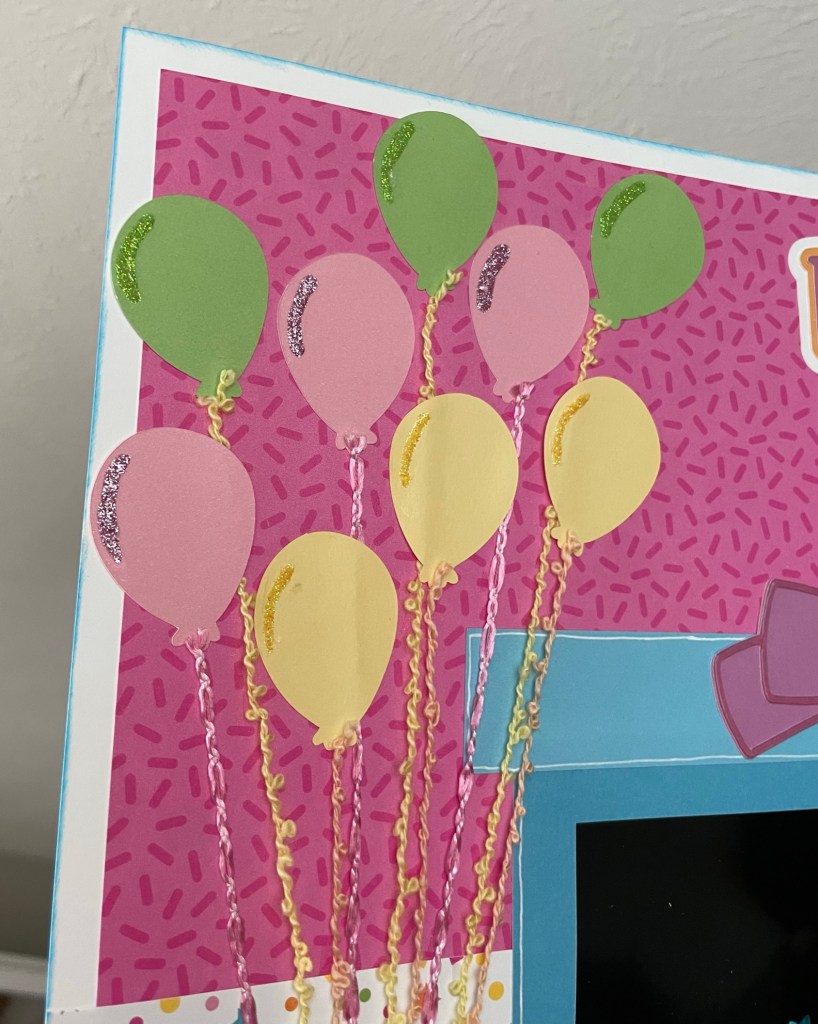
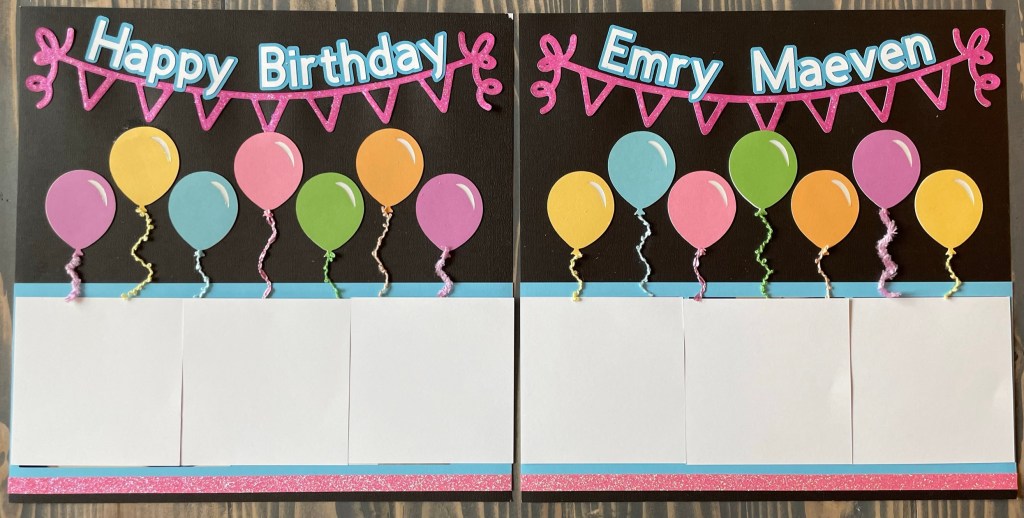
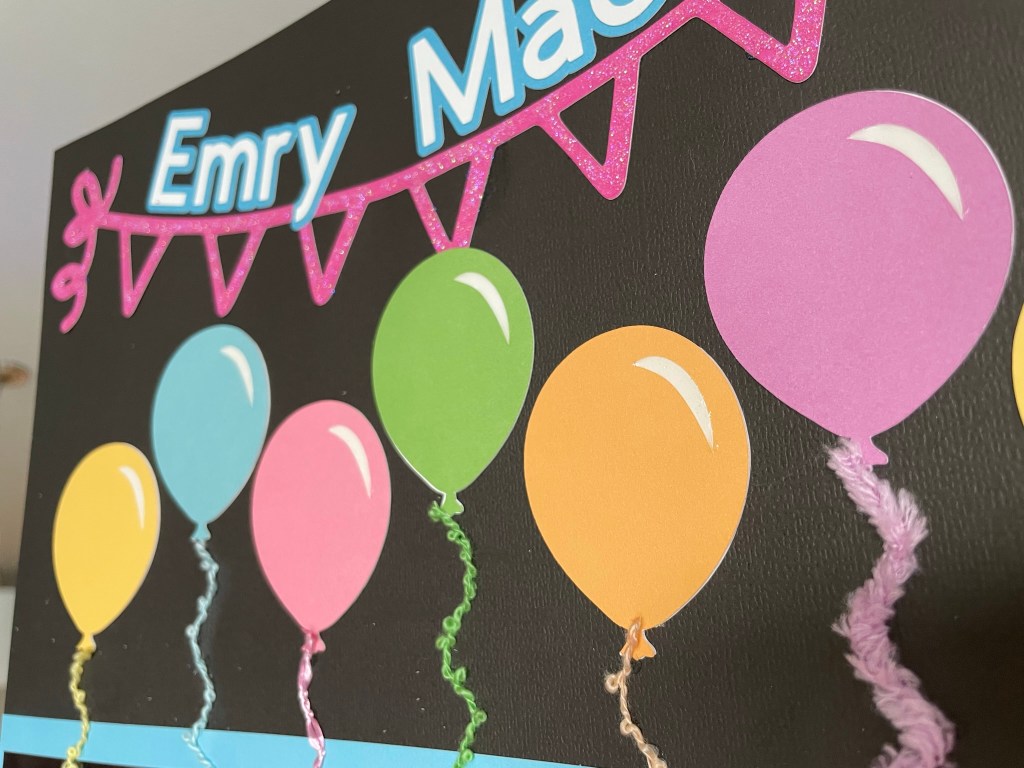
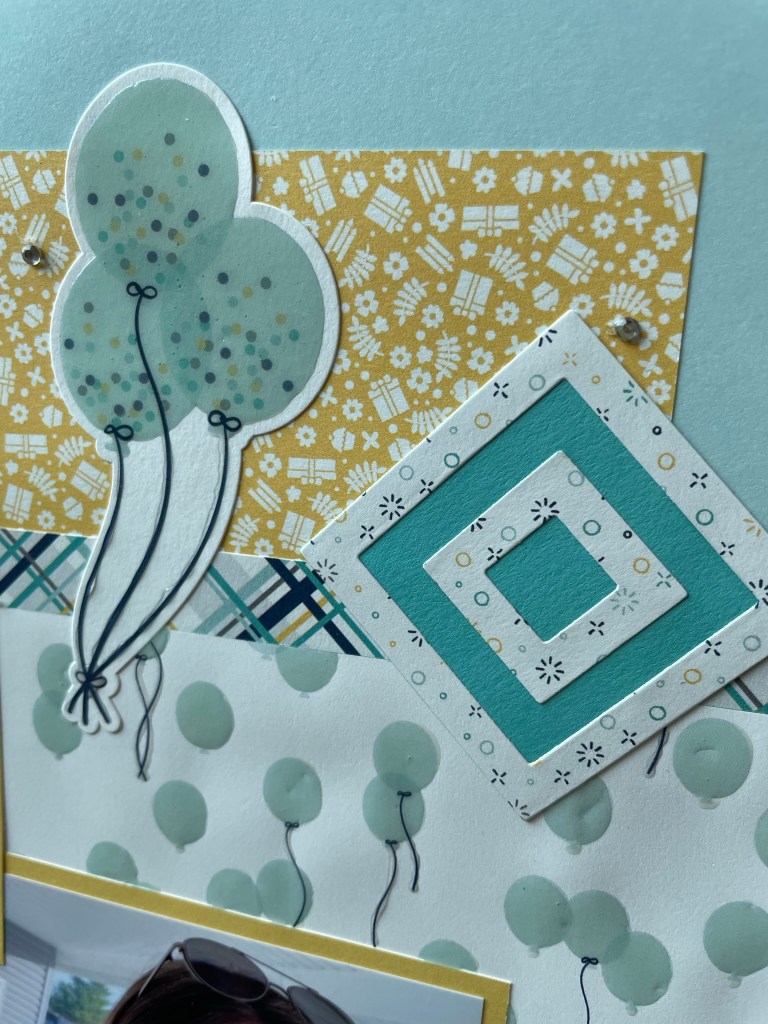
I had a 5×7 photo of her with all her presents. It only seemed fitting that it was all in a present. I used a white pin to outline the blue paper. Added liquid glass to the bow and title to so they would shine. The balloons had a touch of colored stickles and fun strings attached. I realized later I should have added a bow to center point where all the strings came together.
First I have to say this was out of my comfort zone. I had all the pieces cut and laid out on white cardstock. Everything blended together, so I tired black cardstock. And WOW is all I could think. I had inspiration for this layout from a layout I seen with all balloons across the top. While I liked the concept, I wanted more. I made the balloons smaller and added a banner. I had different types of fibers to use as the balloon strings. The banner and strip at the bottom looked the like the same thing right? NOPE! The bottom is shimmer trim and the banner is cardstock and fairy dust!
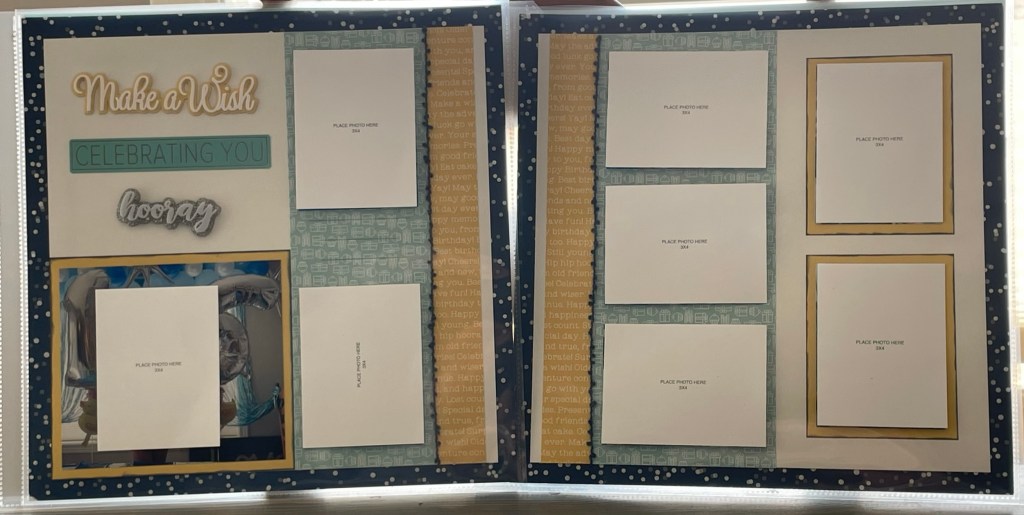
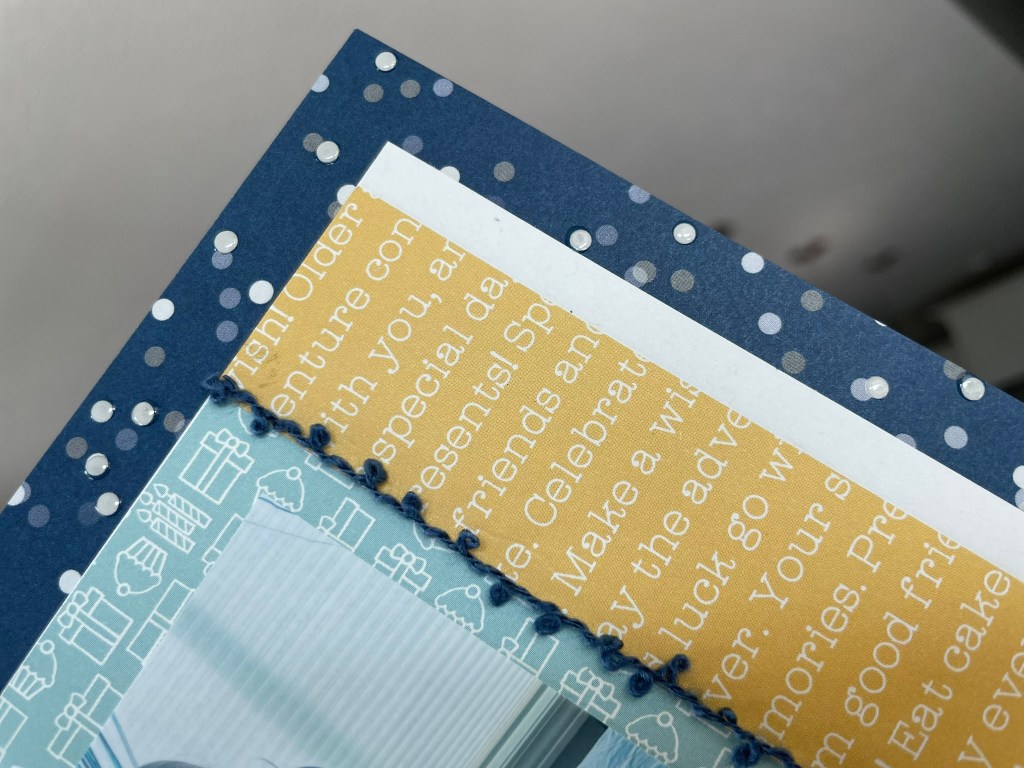
Celebration You paper pack
I used two of the layouts that came with the workshop guide. I changed them up to fit my pictures.
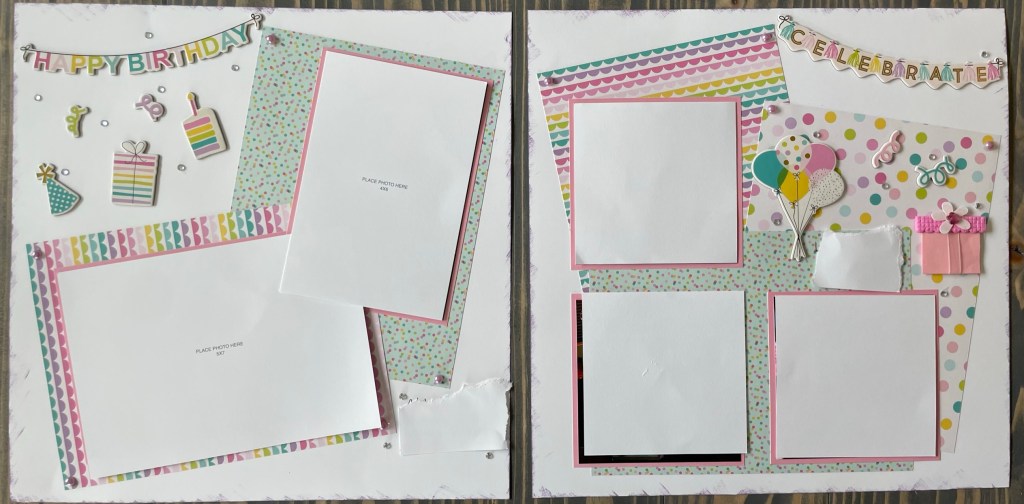
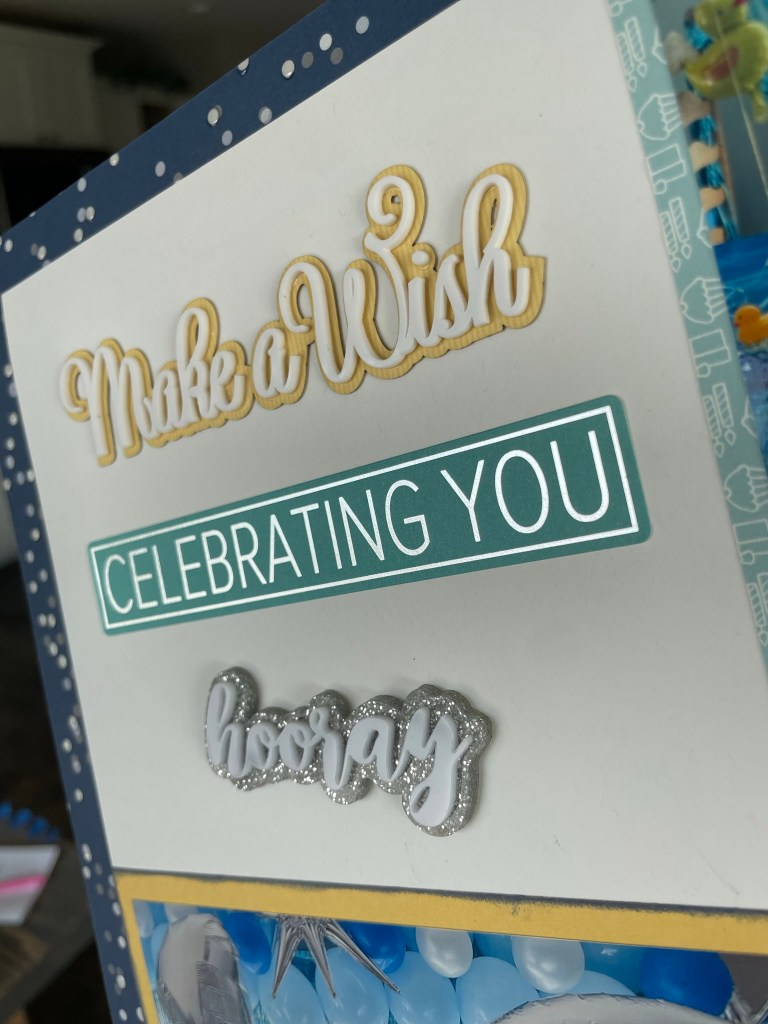
I used the workshop guide for the layout idea and instructions. I did change the papers to better match my photos and the layout a little to give me more room for my pictures. I used outdoor denim ink on the honey cardstock edges. I had some old outdoor denim fibers laying around also that added a nice touch to the paper stripes. This particular paper pack has lots of dimensional elements to it. The make a wish it acrylic on stop of chip board. The celebration you in a sticker with silver foil. I changed out the thirst element for another one I already had that I felt fit better. Its a acrylic. I added liquid glass to the white dots around the outsides on both pages.
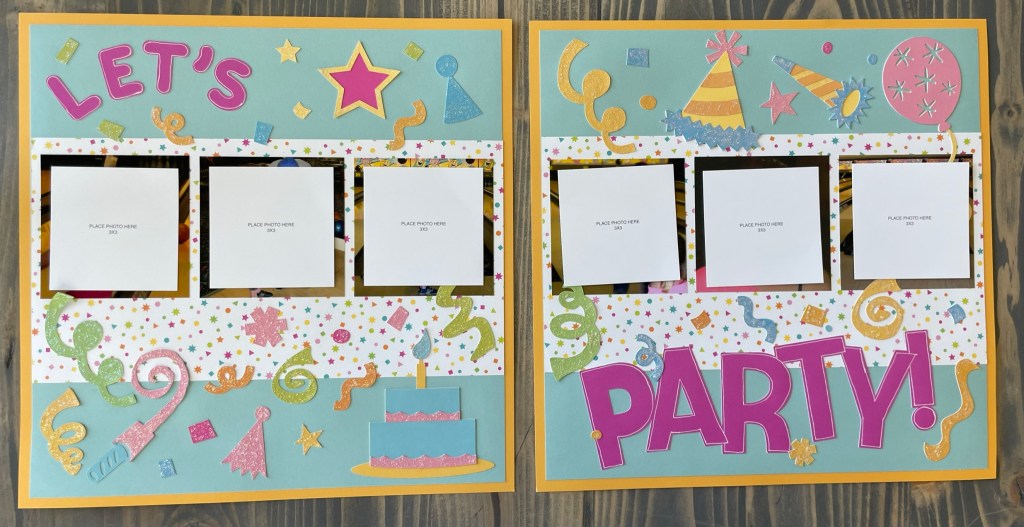
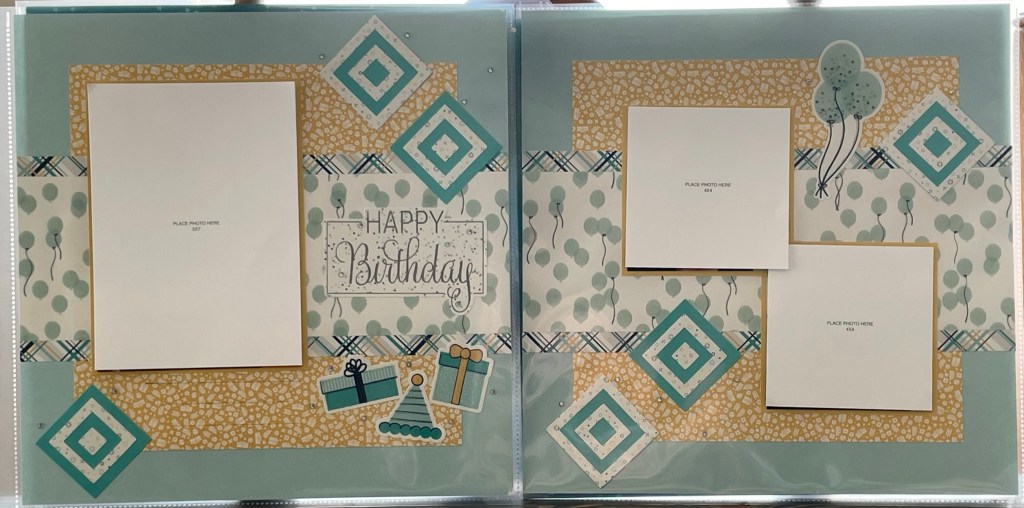
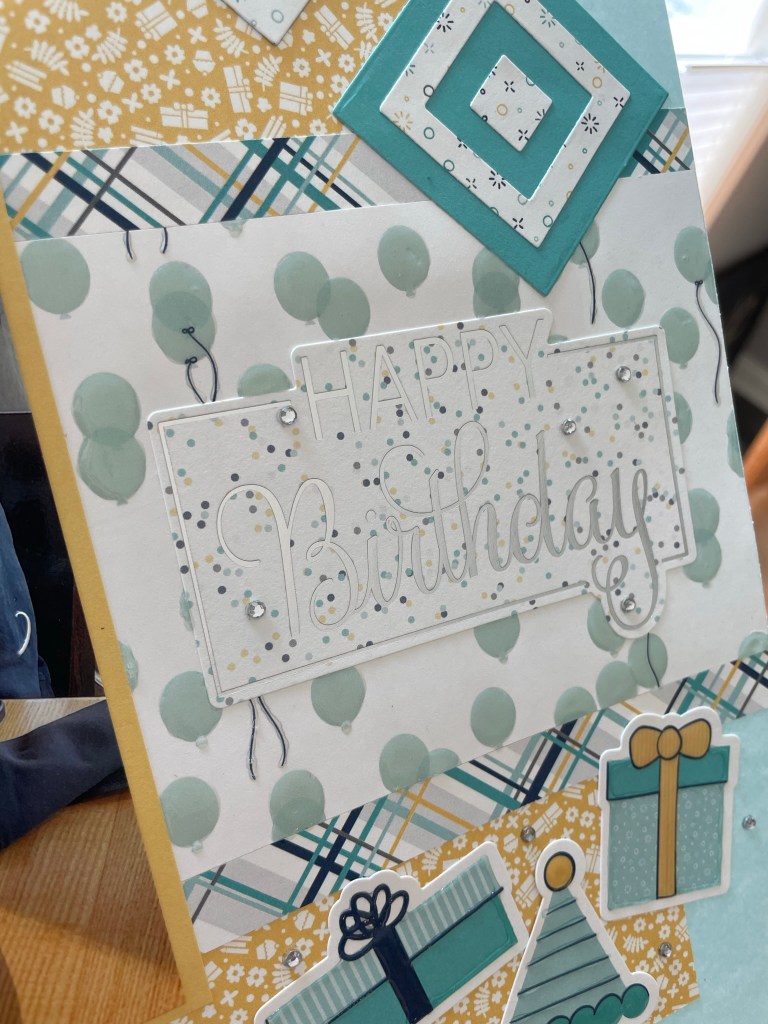
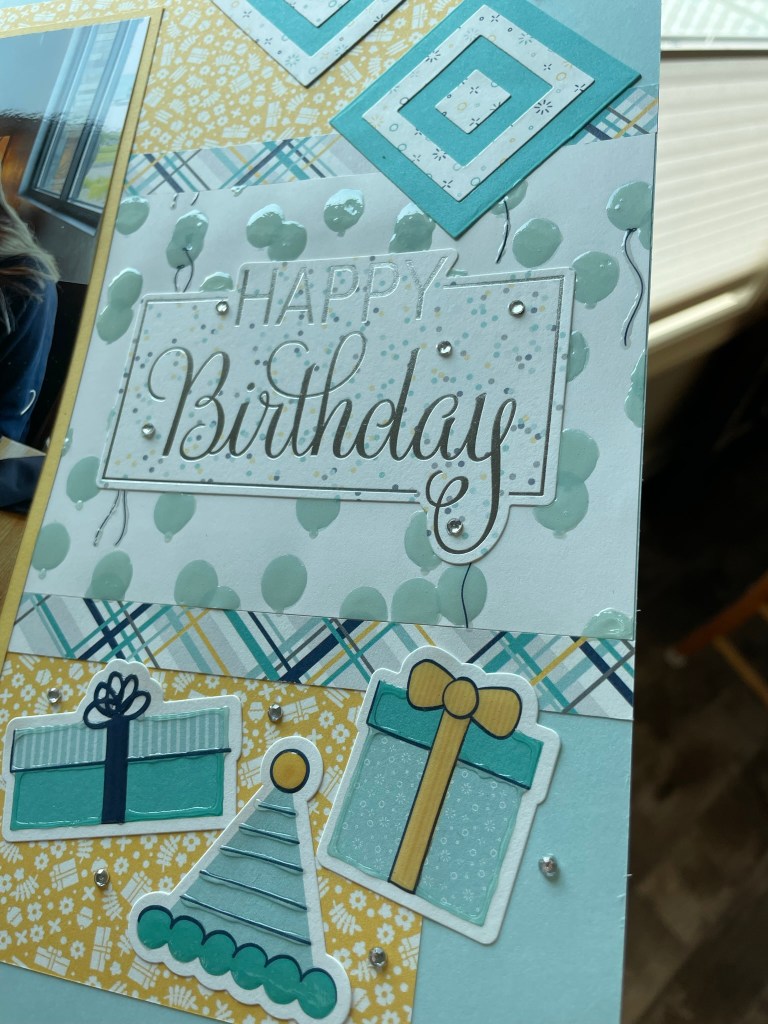
I changed the papers and photo mats to better suit my photos. The squares are made using a thin cut then stacked. I used sticker elements for the title and embellishments. I added liquid glass to all the balloons and outlines of the gifts. Then some sparkle gems here and there.
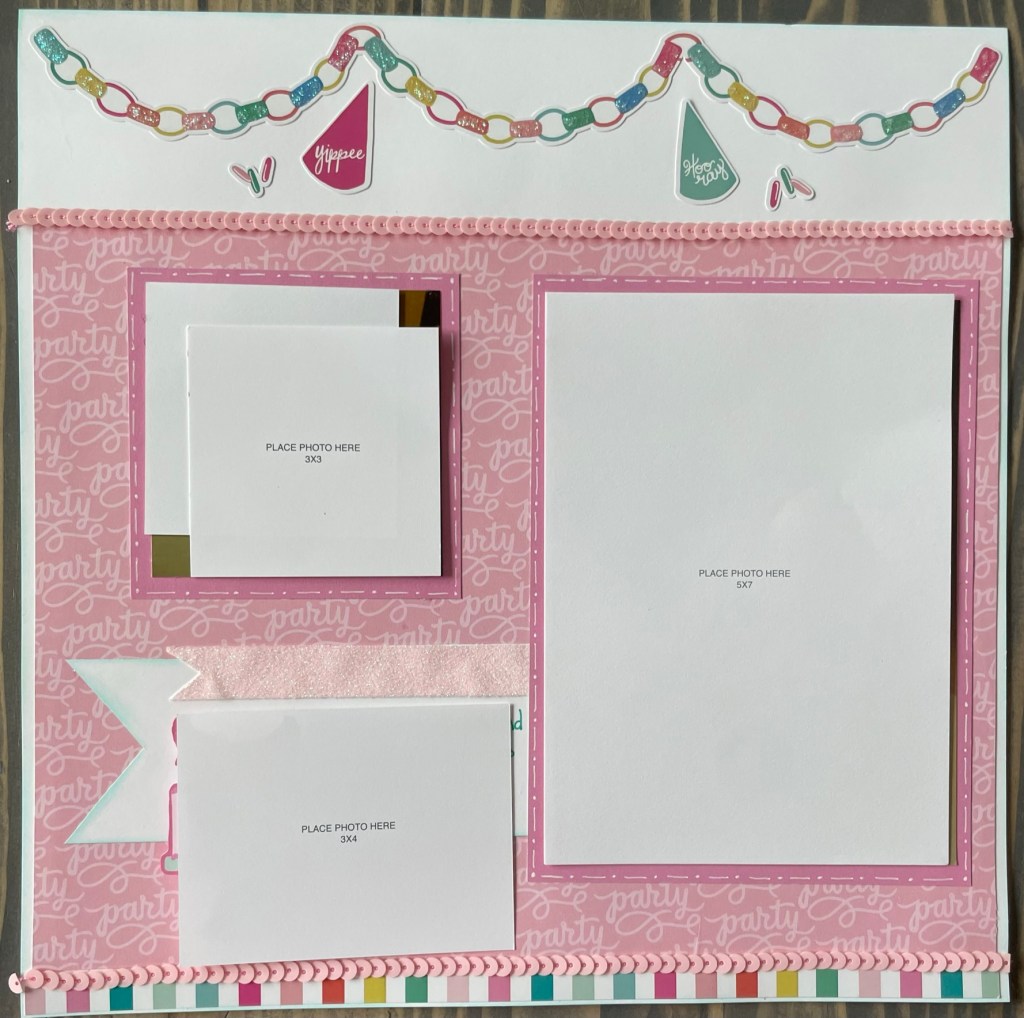
Lets Party paper pack
Have you ever bought paper because you liked it… only to get it out and realize you don’t actually like it at all. Like AT ALL!! I wanted to throw it away. Well, I had TWO sets of it. So I decided I had to just get over it and use it. Honestly it took me about 8 days to create anything with it. I would sit down and start just to get discouraged and walk away from it.
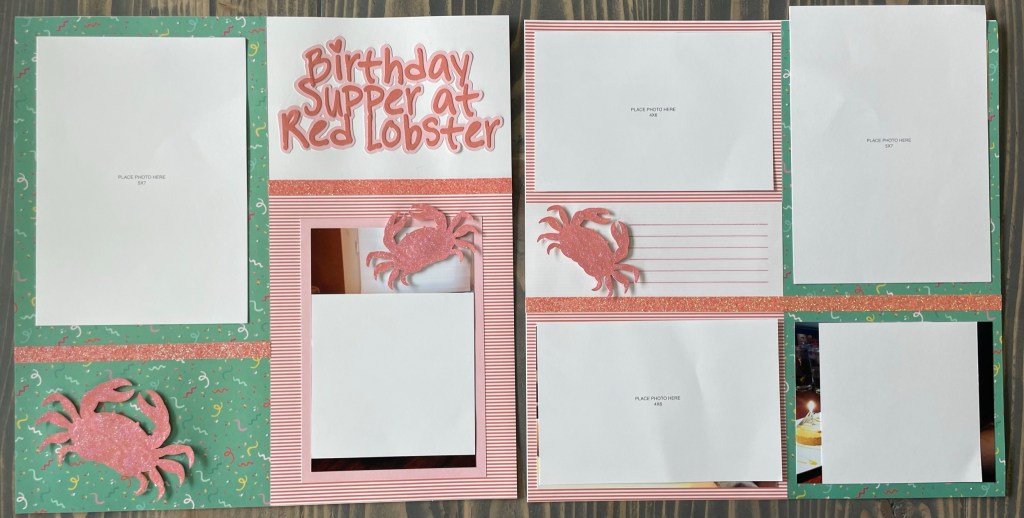
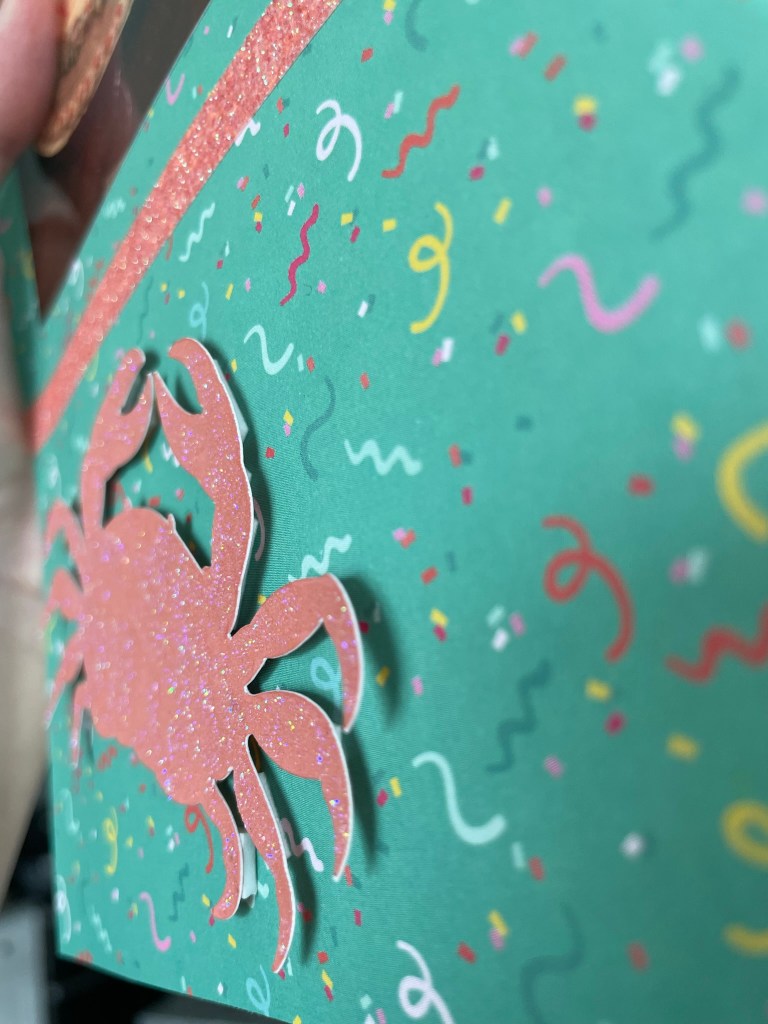
This reddish orange color drove me the most crazy. I figured I should tackle it first. I matched the color papaya to it. Which then made me to think of a crab and oh yeah my daughter used to always want to eat a red lobster for it birthday, well everyday lets be honest. I used the papaya shimmer trim and add fairy dust to crabs. It all came together for an okay layout in the end.
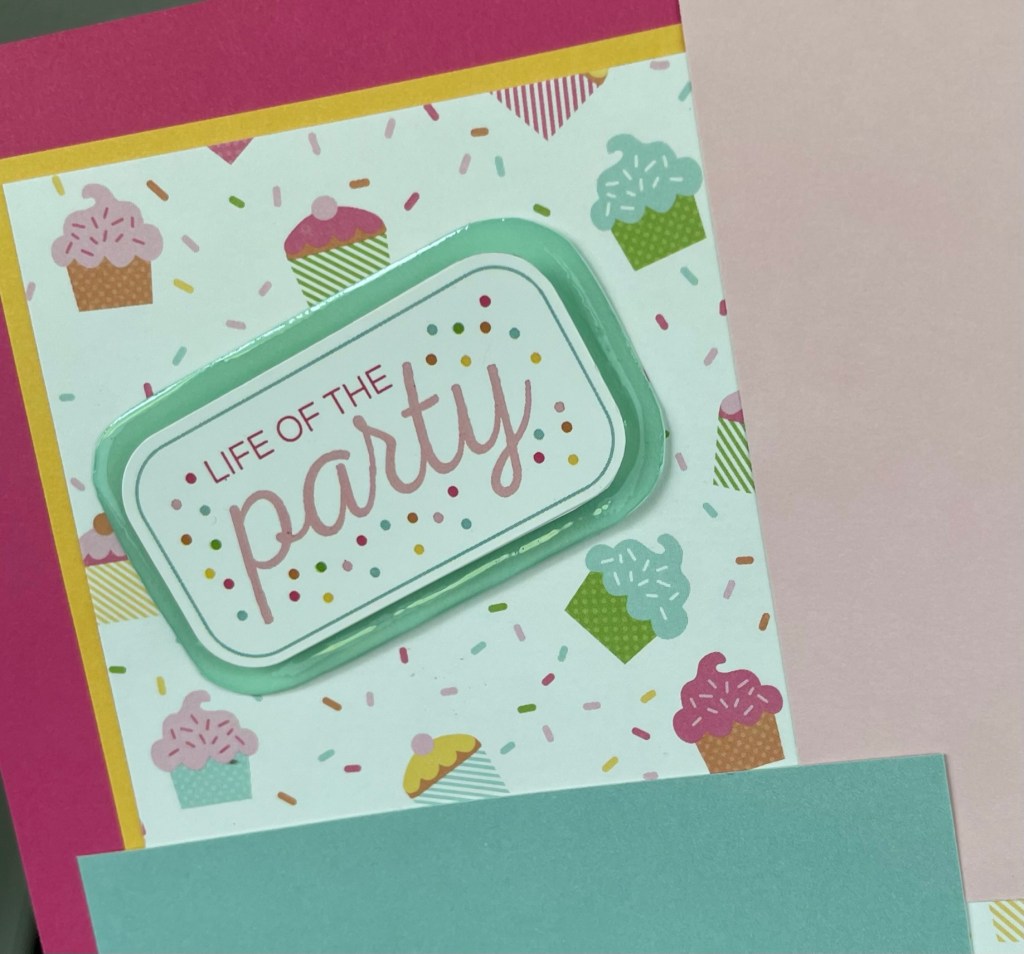
I put this one together quick. I picked a pattern and went with it. The red really throws me off but I think it went okay with this one. To balance the red in the title, I added the red cupcake. I recently found the white sequence and felt like it was a good addition as well.
This one went together quick also. I added stickles to the paper chain at the top and it made it look SO different. This party paper was the only pattern I liked in the whole kit! The pink sequence made the transition batter between papers. Its hard to see in the picture, I inked the white paper edges with a turquoise color. I used a white pen to make and dot and dash on the photo mats.
Sticking with the same colors as the paper pack, I used a CTMH Cricut layout from another paper pack. Since I left the black pieces, I outlined everything else in black. I instantly regretted filling in the missing pieces to the letter. Oh well. At least there are so many other things to look at on the page.